How to Install Windows 11 : Simple Steps
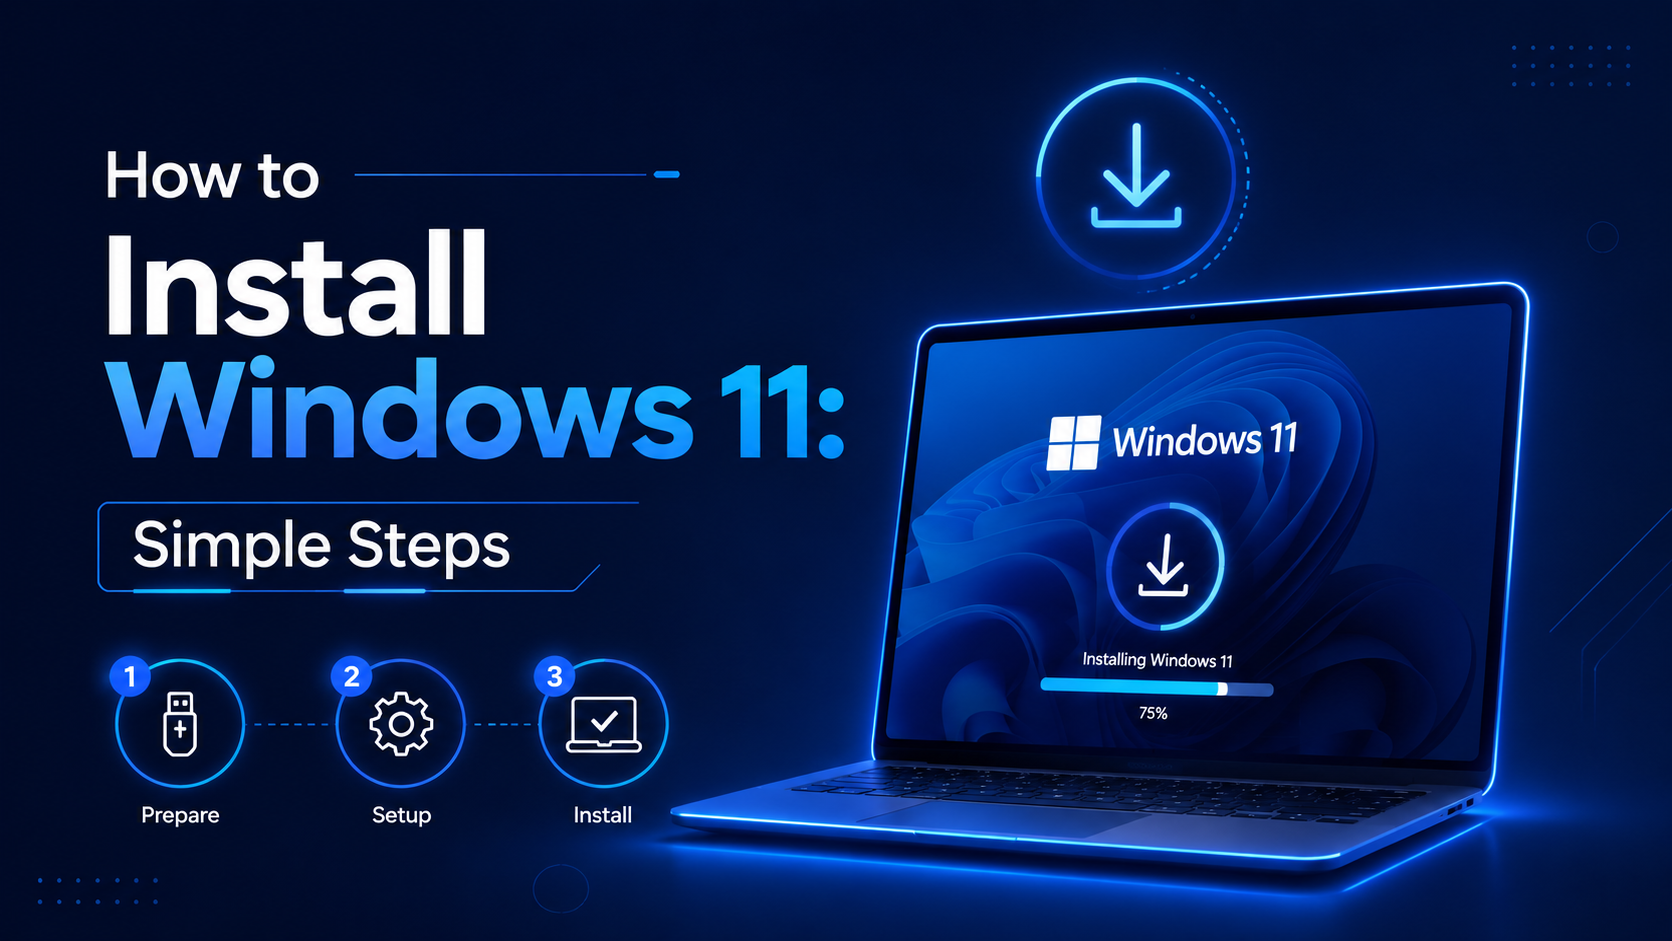
Before starting, make sure your PC meets the minimum requirements,
- Such as a compatible 64-bit processor
- 4 GB of RAM,
- UEFI, and Secure Boot support.
- 64 GB of storage,
- Microsoft also recommends checking compatibility with the PC Health Check app.
What You Need
Before installing Windows 11, prepare:
- A stable internet connection
- A USB flash drive with at least 8 GB of space
- A backup of your important files
- A Windows 11 compatible computer
Microsoft recommends using a blank USB drive because the tool will delete its content when creating the installation media.
Step 1: Back Up Your Files
Before installing Windows 11, save your important files on OneDrive, an external drive, or another safe location.
This is very important, especially if you want to do a clean installation.
Step 2: Download the Windows 11 Installation Tool
Go to the official Microsoft Windows 11 download page.
Under Create Windows 11 Installation Media, click Download Now.
This will download the file called MediaCreationTool.exe.
Step 3: Create a Windows 11 USB Installer
Plug your USB drive into the computer.
Open MediaCreationTool.exe.
Follow the instructions on the screen.
Choose:
USB flash drive
Then select your USB drive and wait while the tool creates the Windows 11 installer.
Step 4: Restart the Computer
When the USB installer is ready, restart the computer.
While the computer is starting, open the boot menu.
Common boot menu keys are:
- F12
- F11
- ESC
- DEL
The key depends on the computer brand.
Step 5: Boot From the USB Drive
In the boot menu, select your USB drive.
The Windows 11 setup screen will appear.
Choose your language, time format, and keyboard layout.
Then click Next.
Step 6: Start the Installation
Click Install now.
Enter your Windows product key if asked.
If Windows was already activated on your computer before, you can usually choose I don’t have a product key and activate Windows later automatically.
Step 7: Choose the Installation Type
You will usually see two options:
Upgrade: keeps your files, apps, and settings.
Custom: installs a fresh copy of Windows 11.
For a clean installation, choose Custom.
Warning: a clean installation can delete your files, so make sure you already made a backup.
Step 8: Select the Drive
Choose the drive where you want to install Windows 11.
Usually, this is the main SSD or hard drive.
Click Next.
Windows will now start installing.
Your computer may restart several times during the process.
Step 9: Set Up Windows 11
After installation, follow the setup instructions.
You will choose:
- Your country
- Keyboard layout
- Wi-Fi network
- Microsoft account
- Privacy settings
After that, Windows 11 will open on your desktop.
Step 10: Install Updates and Drivers
Once Windows 11 is installed, open:
Settings > Windows Update > Check for updates
Install all available updates.
You should also install drivers from your computer manufacturer if needed.
Conclusion
Windows 11 can be installed using a USB installer created with Microsoft’s Media Creation Tool. The most important things are to check compatibility, back up your files, and follow the setup steps carefully.
After installation, update Windows and install the correct drivers to make sure everything works properly.
Share this content:


Laisser un commentaire